Adobe Sign integrated with Microsoft PowerApps
Adobe Sign integrated with Microsoft PowerApps
【流程說明】
【詳細步驟】
【前置準備】
1. A Windows 10 demo computer (PC or laptop).
2. A browser. The demo was developed and tested in Edge. Other browsers may not provide exactly equivalent user experiences. If you wish to use another browser, e.g. Chrome, make sure the views and experiences are sufficient for the demo.
3. Two disposable email addresses or email alias on an account at Outlook.com. If you are not using trial accounts, you can use any two email addresses.
4. Microsoft Office client apps, specifically Excel.
5. An Adobe Sign Enterprise level account in which you have rights to create templates and integration keys.
【Set up the demo tenant and accounts】
1.【access to a Microsoft 365 tenant. Business and Enterprise trial tenants】
( MPN partner 測試 https://Demos.Microsoft.com )
|
【Sign and PowerApps Demo】 admin@M365x941278.onmicrosoft.com
https://M365x941278.sharepoint.com MeganB@M365x941278.onmicrosoft.com MarioH@M365x941278.onmicrosoft.com D@ Mario Hubber
|
Tenant requirements:
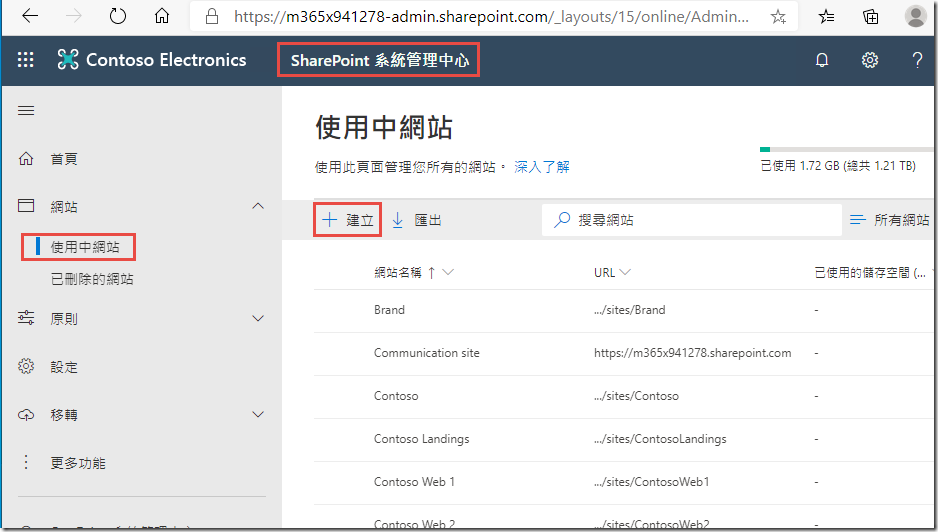
· Rights to create a new SharePoint site.
Access to PowerApps and Flow services
2. 【Create at least one disposable email account that you use for the demo for the Mario Hubber demo persona. Set up Mario Hubber as the Full name for the account. Adobe Sign picks this info up and uses it】
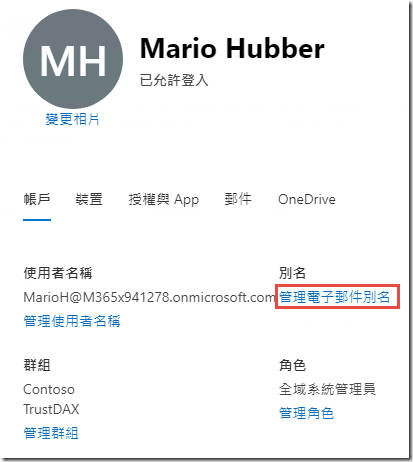
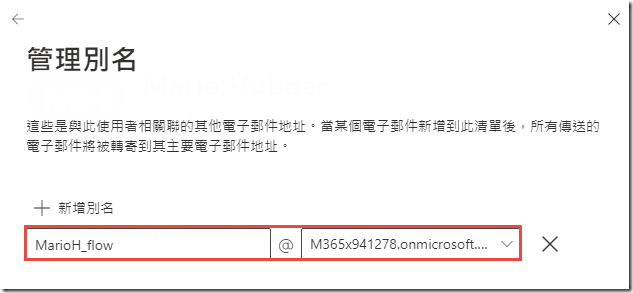
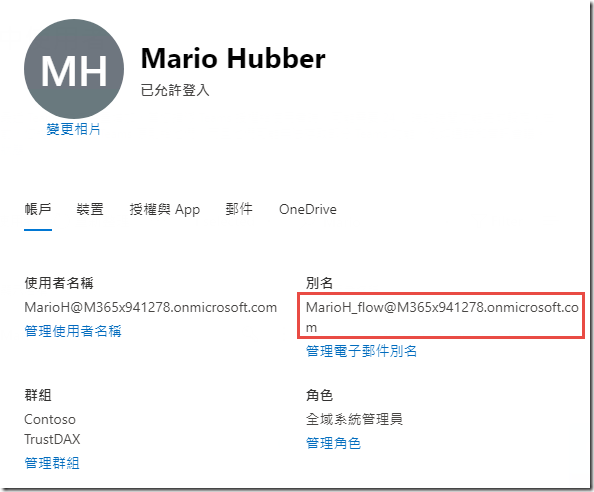
NOTE: One useful tip is that Outlook.com lets you create an alias under the profile for the account. You can have one account that covers both the trial account email address and the customer email address used in the demo, each with their own address, but managed out of the same inbox. When you need a new trial, create a new alias.
MarioH@M365x941278.onmicrosoft.com
Mario Hubber as the Full name
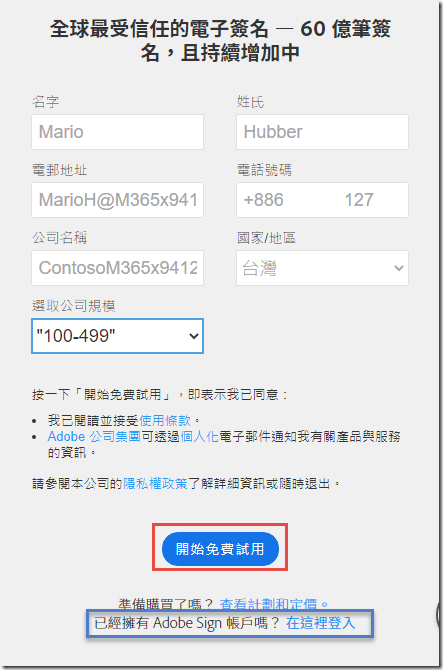
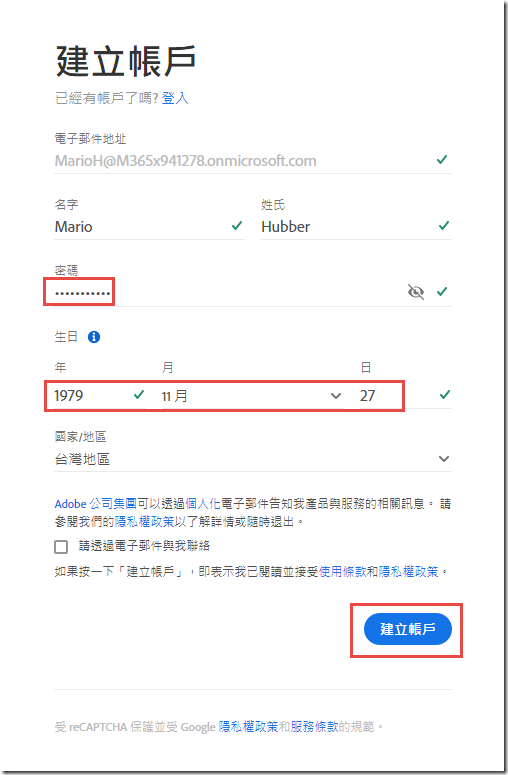
3. 【Obtain an enterprise-level Adobe Sign account. You can create a trial with the correct permissions using this link and choosing the business option: https://acrobat.adobe.com/us/en/sign.html. Sign up for the enterprise-level account.】
https://acrobat.adobe.com/us/en/sign.html or https://acrobat.adobe.com/tw/zh-Hant/sign.html
01
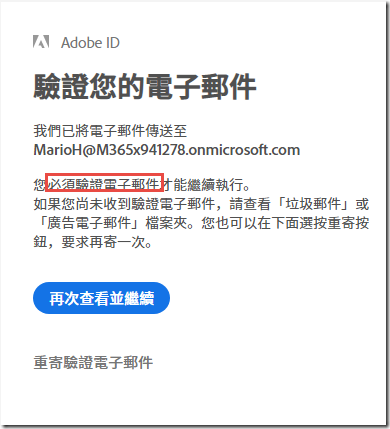
02
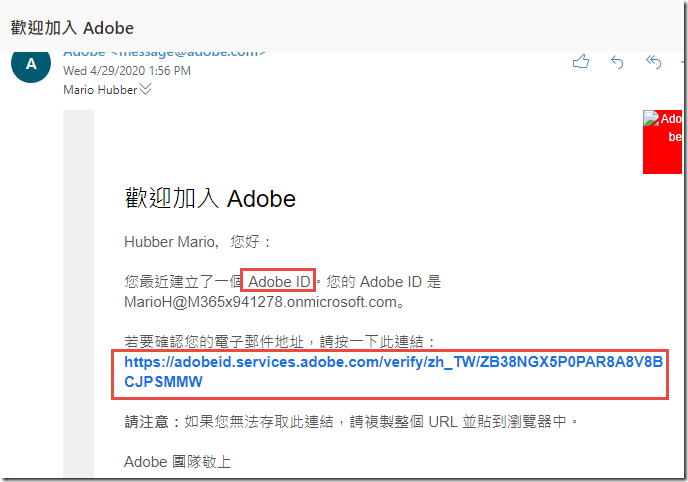
03
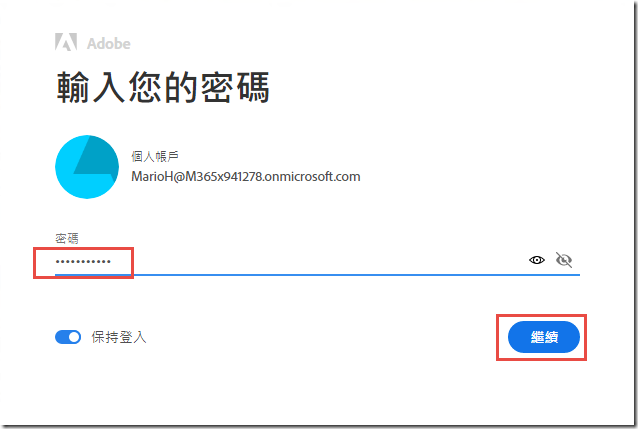
04
05
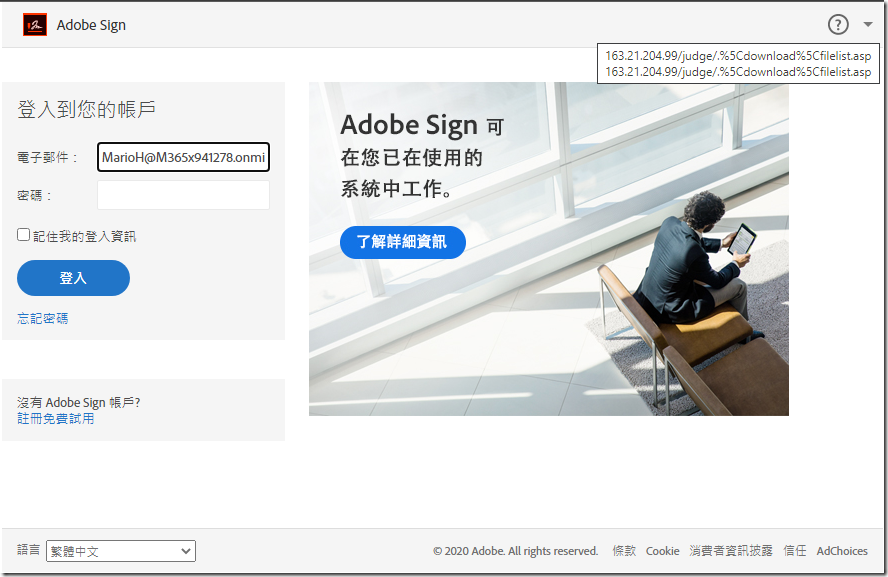
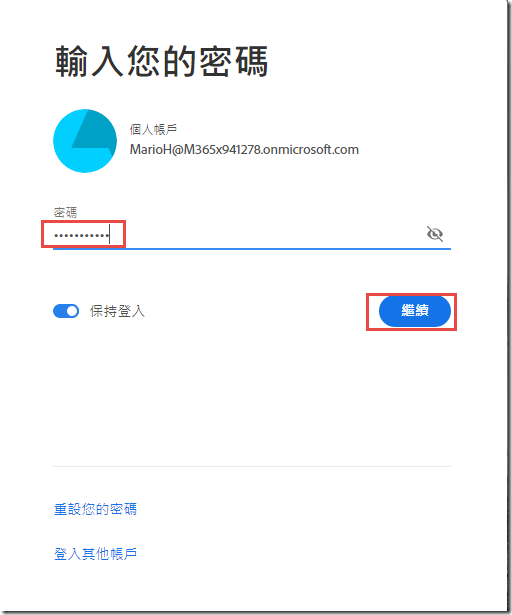
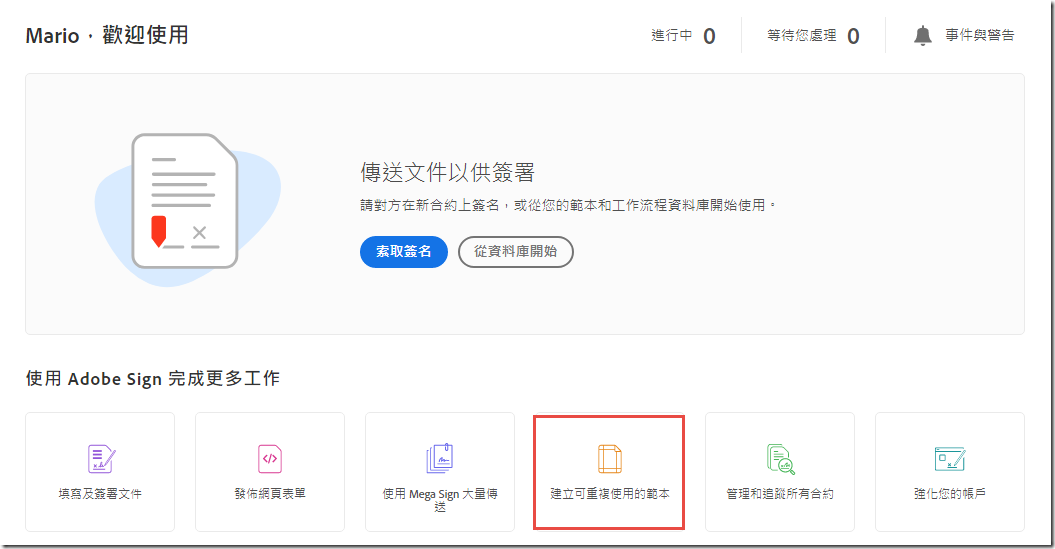
在出現的視窗輸入驗證碼後即自動登入 Adobe Sign
【Demo asset files】
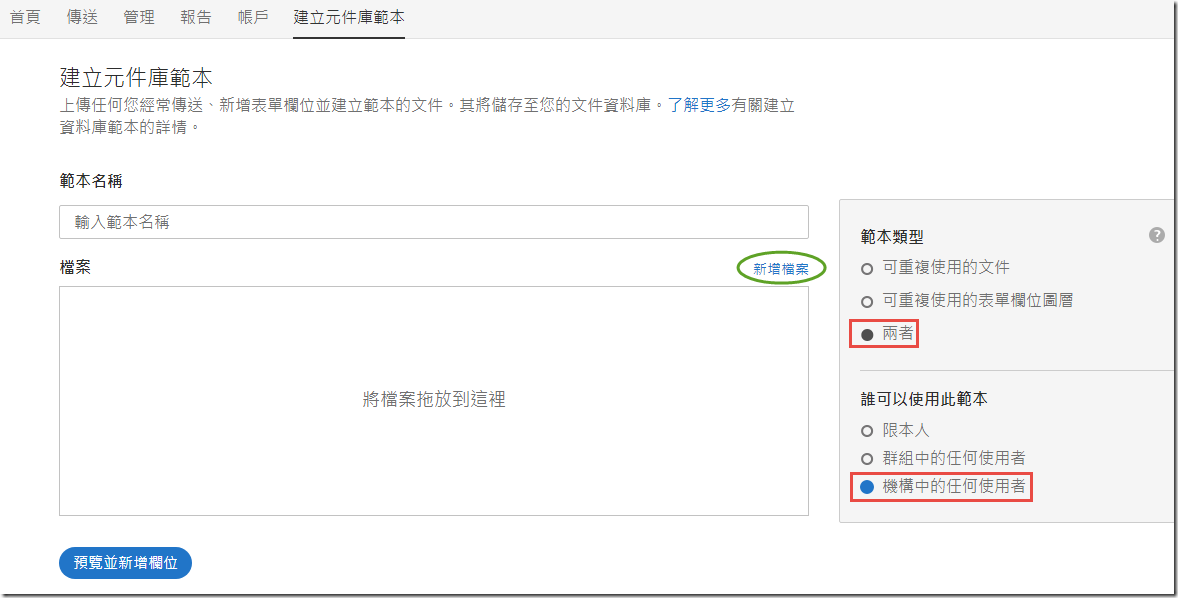
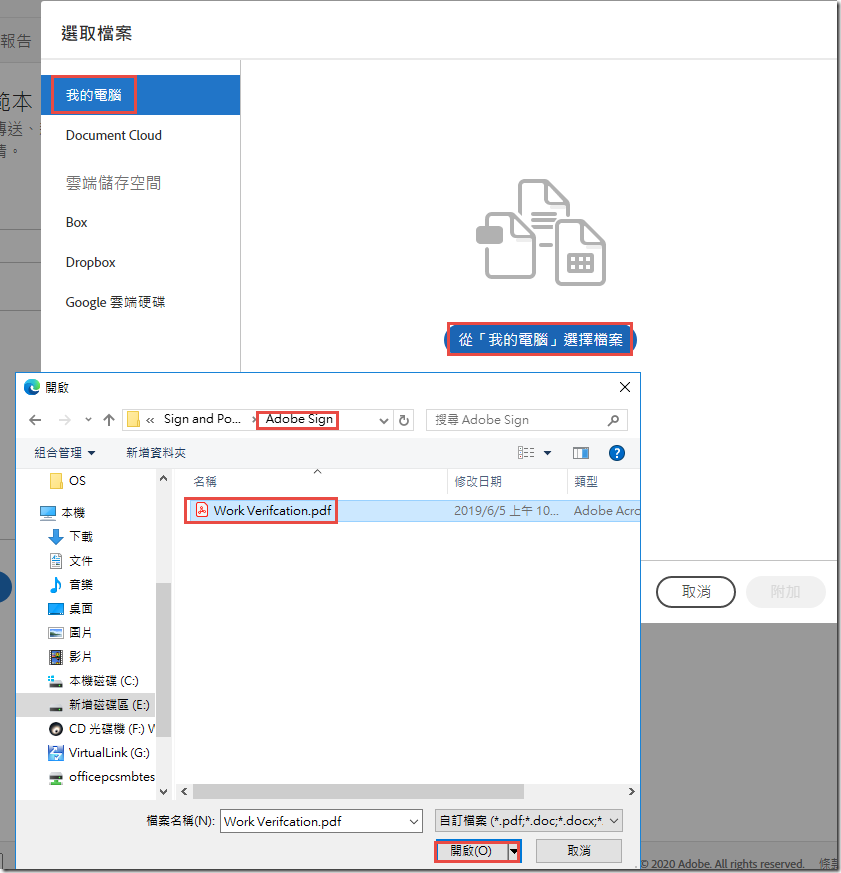
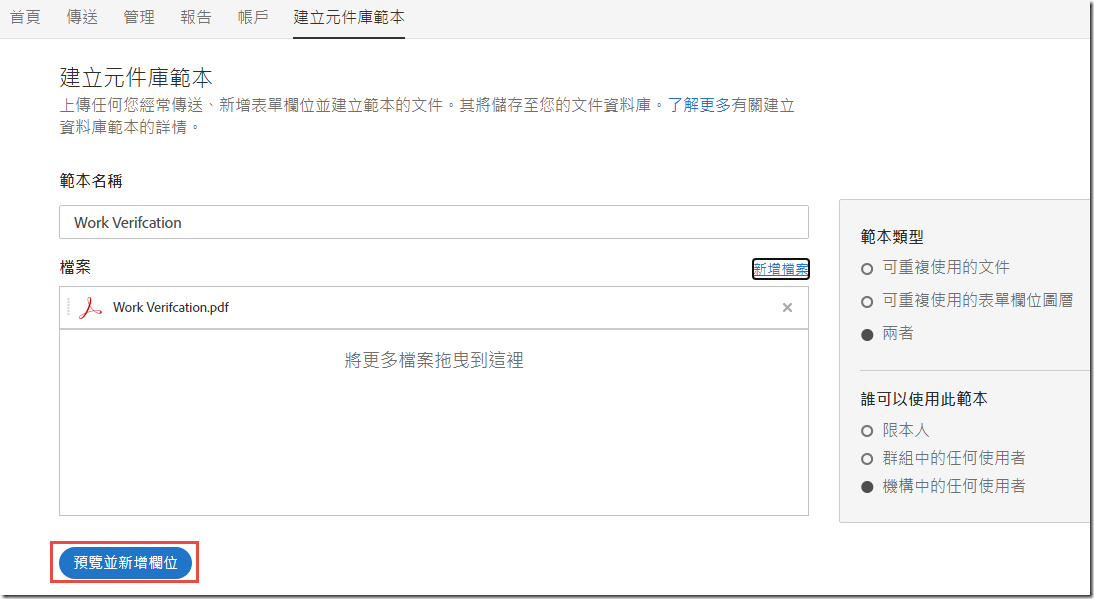
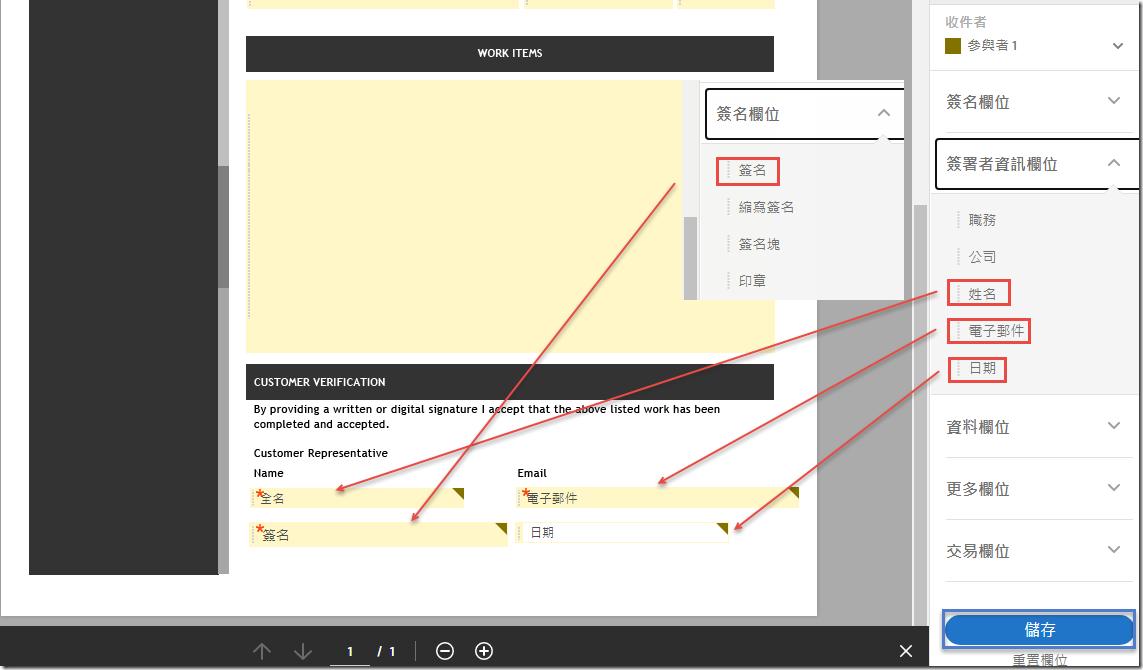
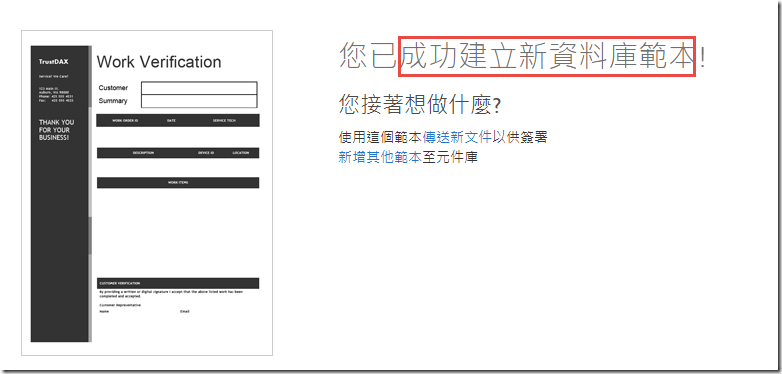
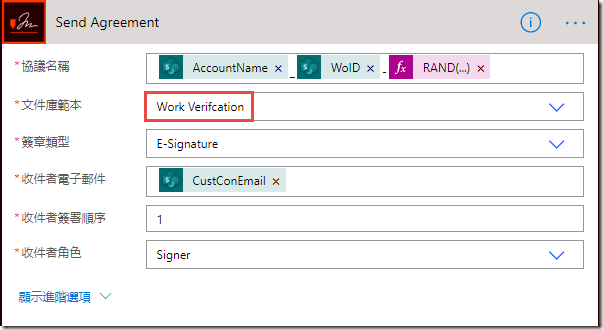
Work Verification.pdf – This will you your template used to create a document for signing during the demo.
Agreements Backstory folder: Three PDFs – These are just props to make the SharePoint folder look used
Excel for WorkOrders folder: WorkOrdersSPList.xlsx – This will create the SharePoint list used by the workflows and app to define the work order date
Ap n Flows folder (do not extract these files):
o TriggerFileReportsFlow.zip – Automated flow that triggers when a document signing workflow is completed.
o CustomerServiceManagementApp.zip – App created in PowerApps simulating a Service Company app that shows both a paper process at the end and an in-person Adobe Sign process at the end.
【Configure the Adobe Sign account】設定 Adobe 簽署帳戶
sign into your Adobe Sign account at https://secure.echosign.com/public/login
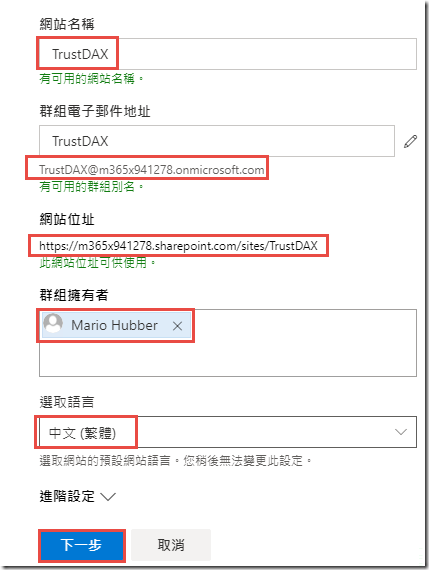
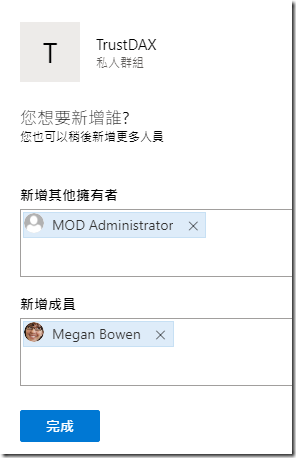
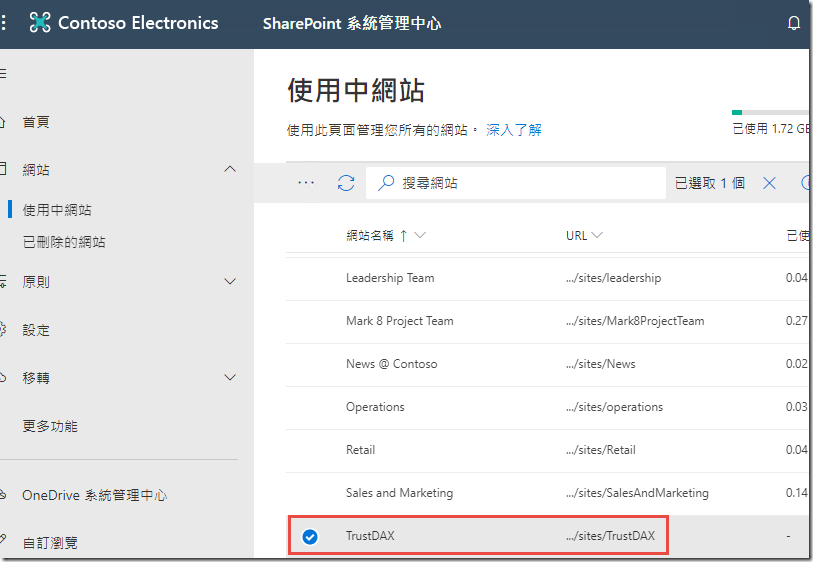
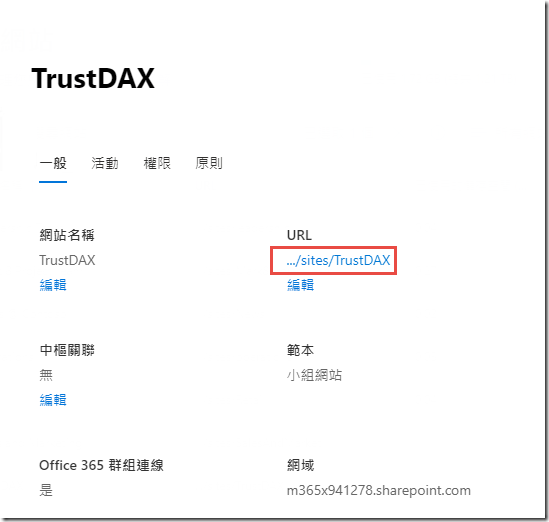
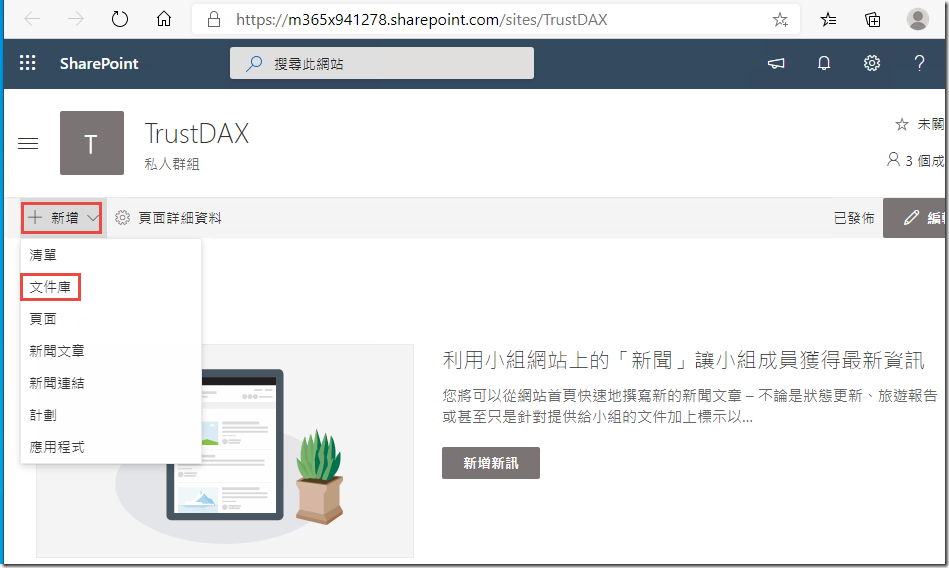
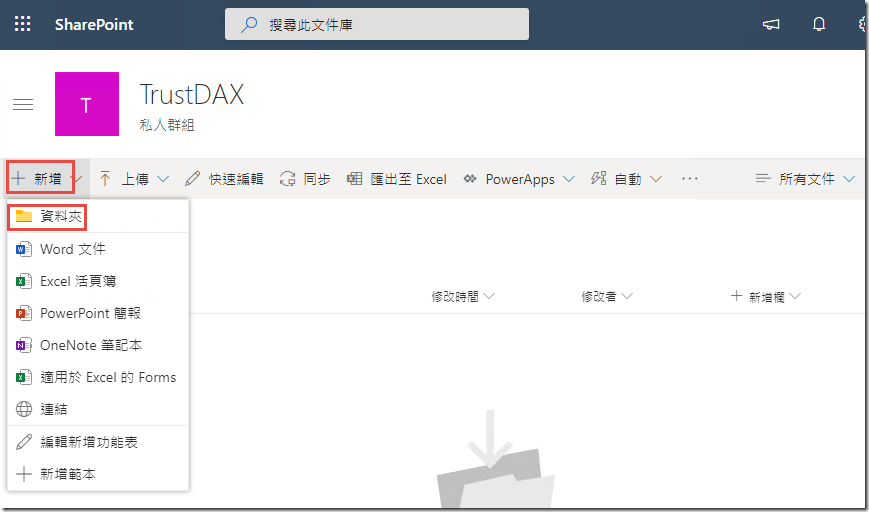
【Configure SharePoint】設定 Sharepoint online,建立 Teams site
TrustDAX@m365x941278.onmicrosoft.com
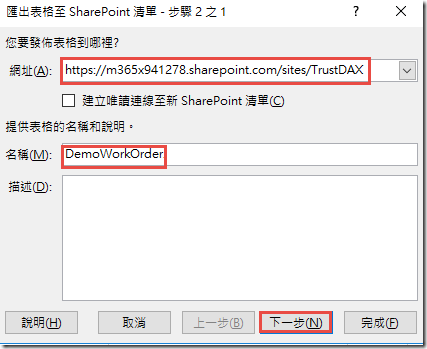
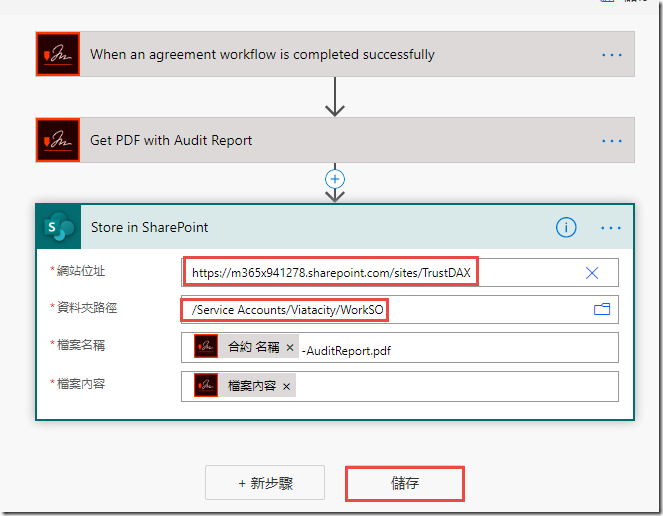
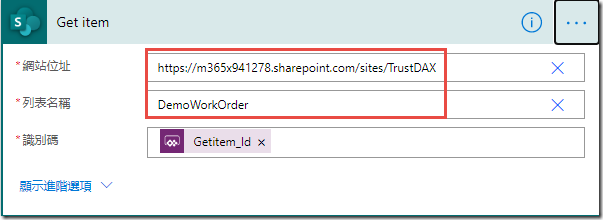
https://m365x941278.sharepoint.com/sites/TrustDAX
https://m365x941278.sharepoint.com/sites/TrustDAX
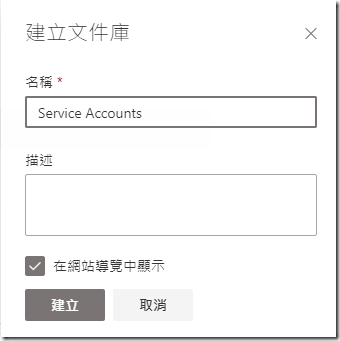
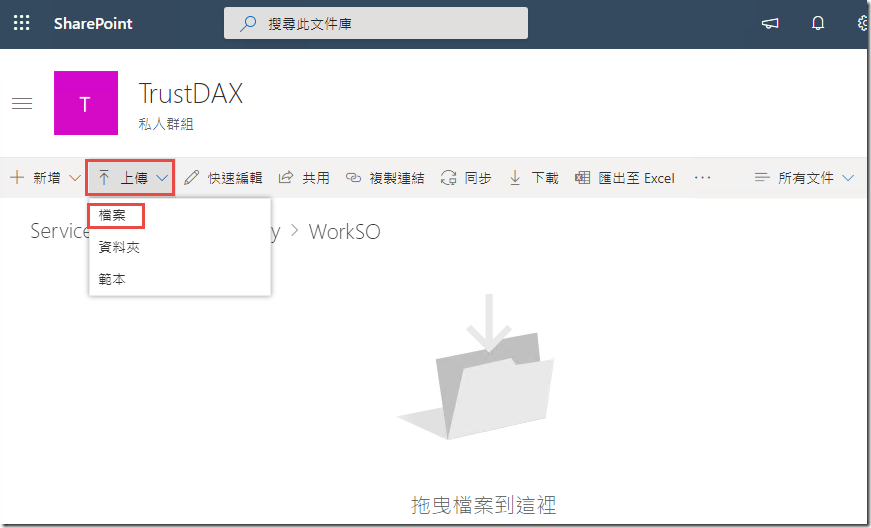
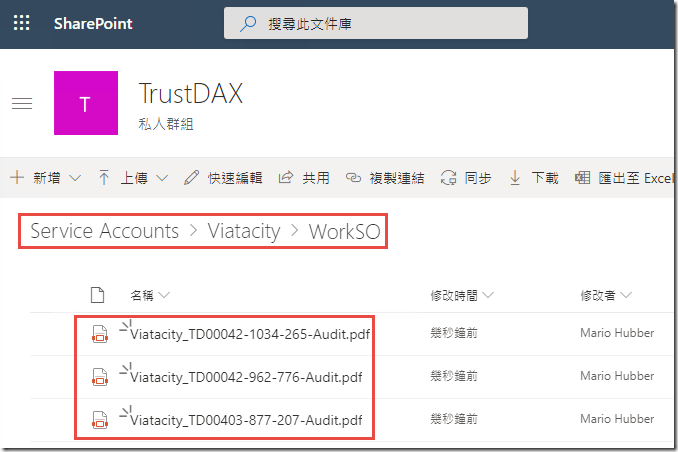
Document Library:Service Accounts
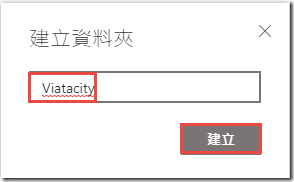
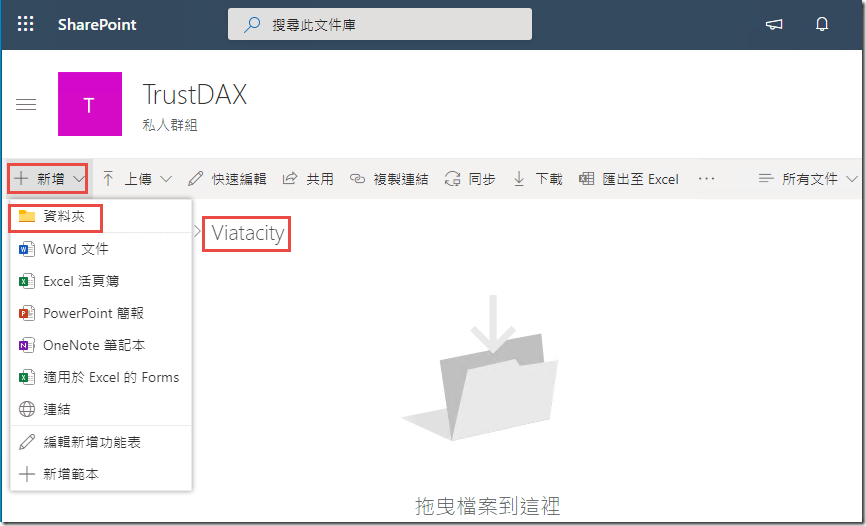
Folder:Viatacity
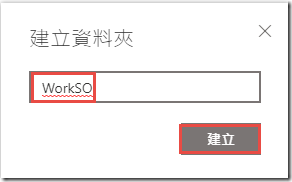
Folder:WorkSO
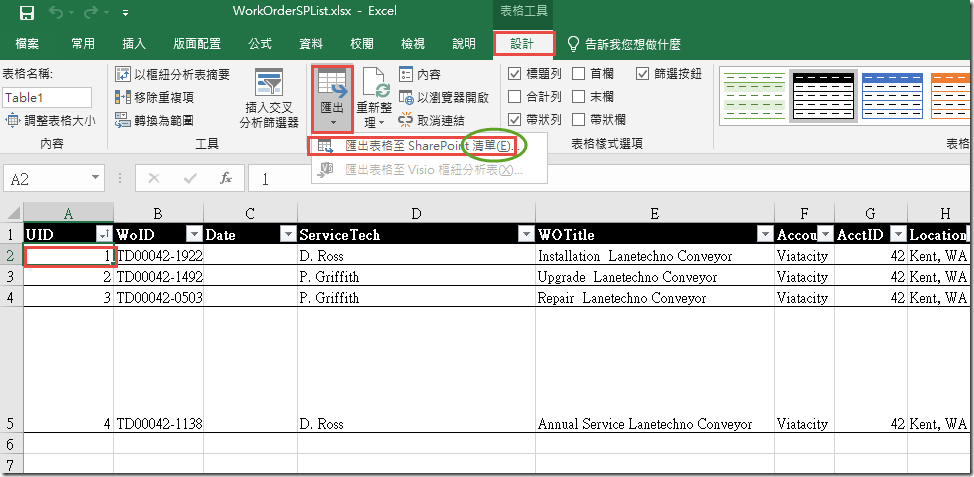
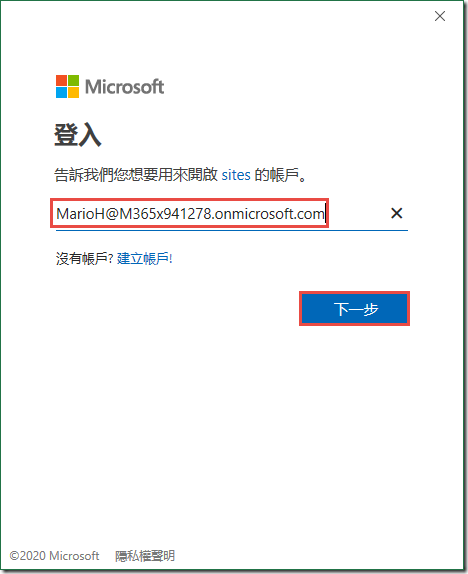
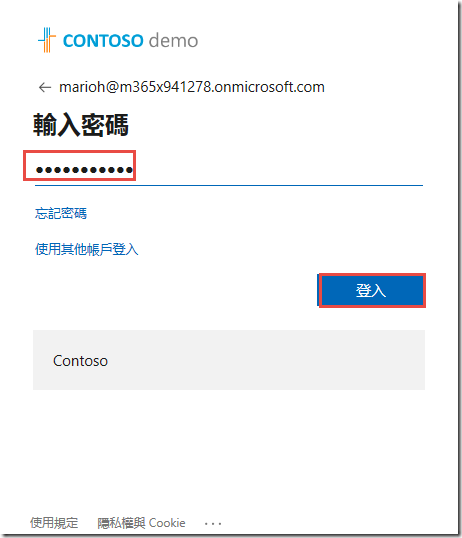
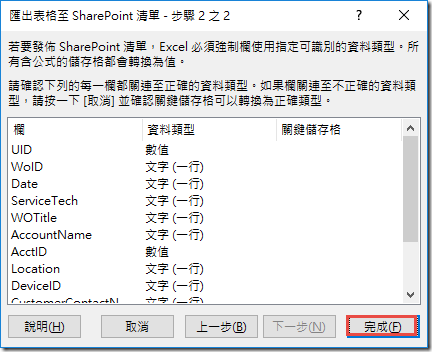
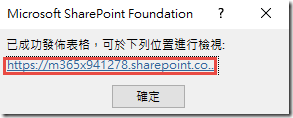
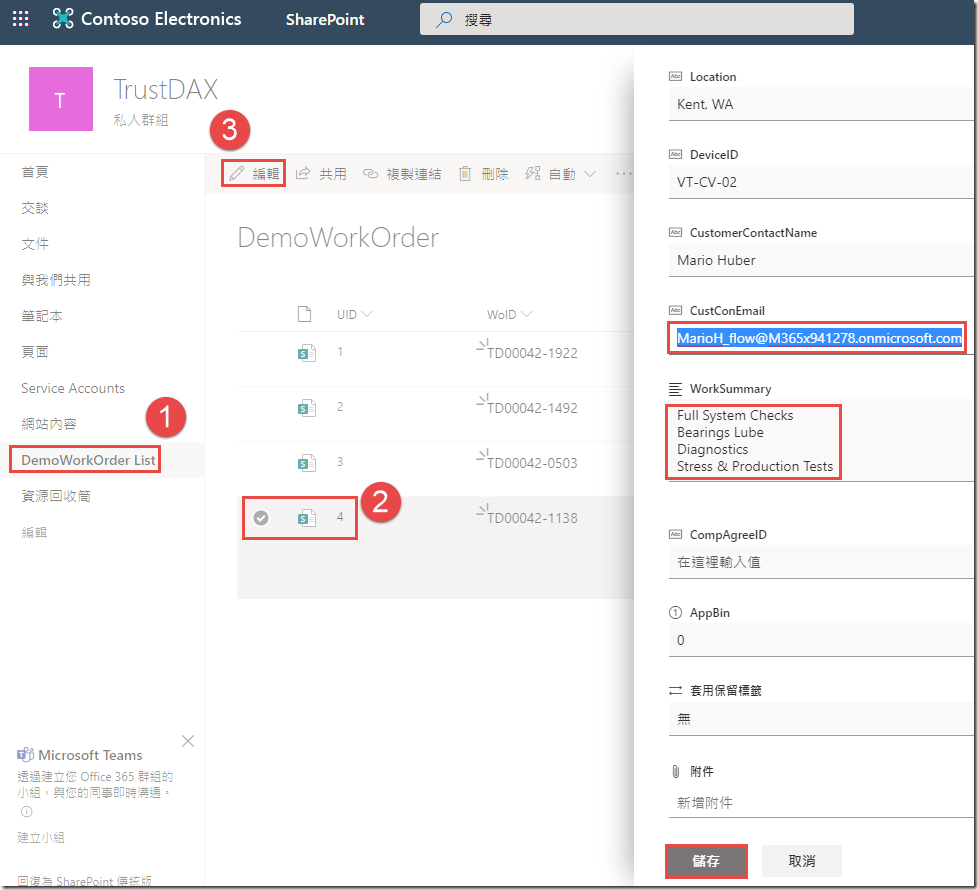
【WorkOrdersSPList.xlsx import to Sharepoint online List】將 WorkOrdersSPList.xlsx 匯入 Sharepoint online List,並修改資料欄位內容
【Install Flows and PowerApps】設定 Flows and PowerApps
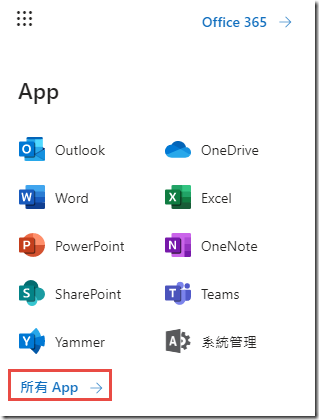
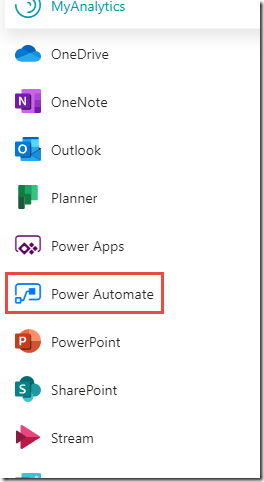
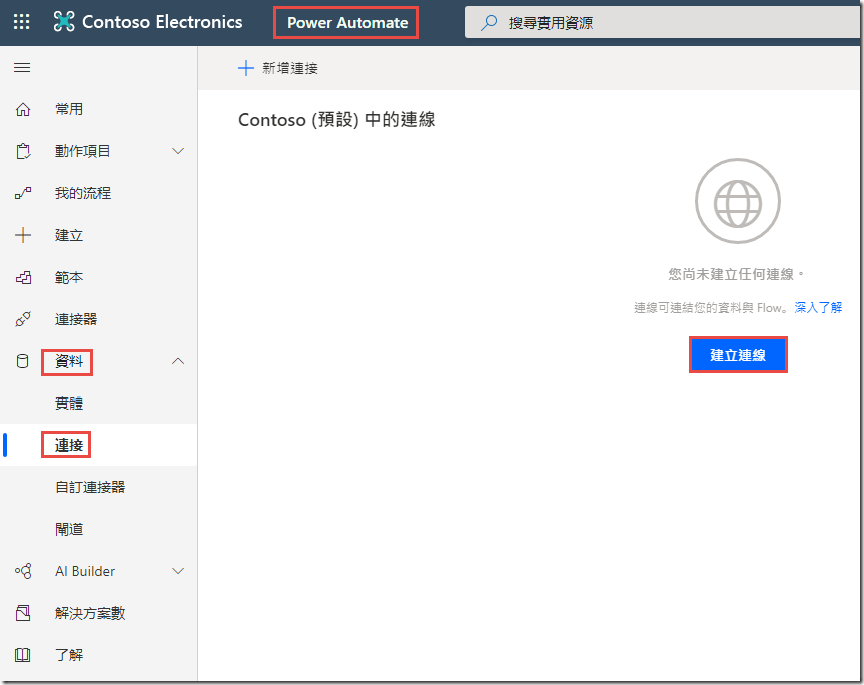
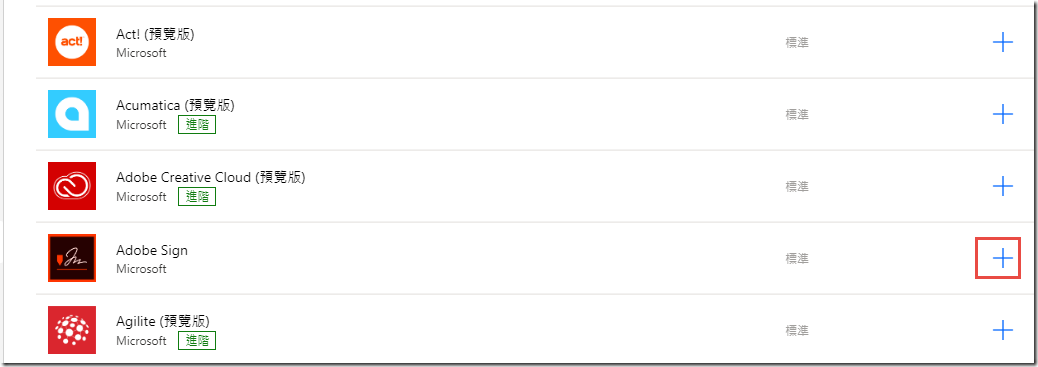
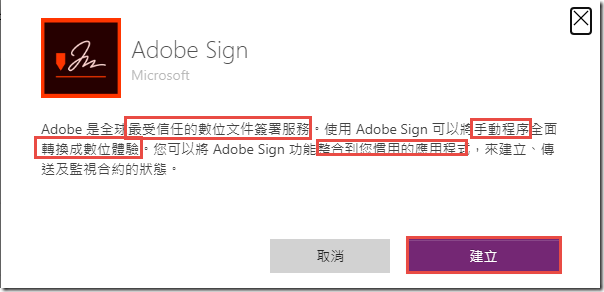
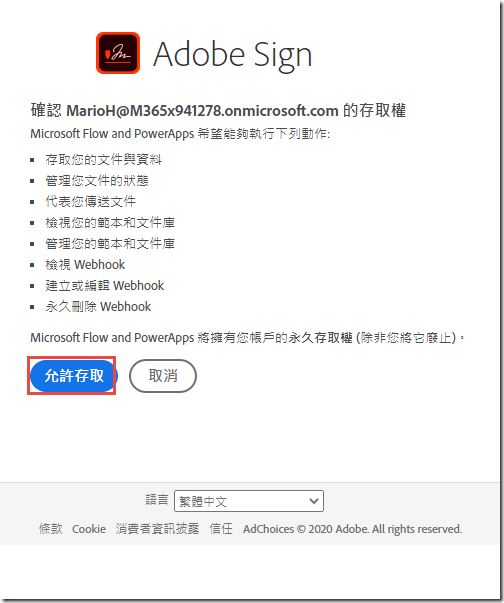
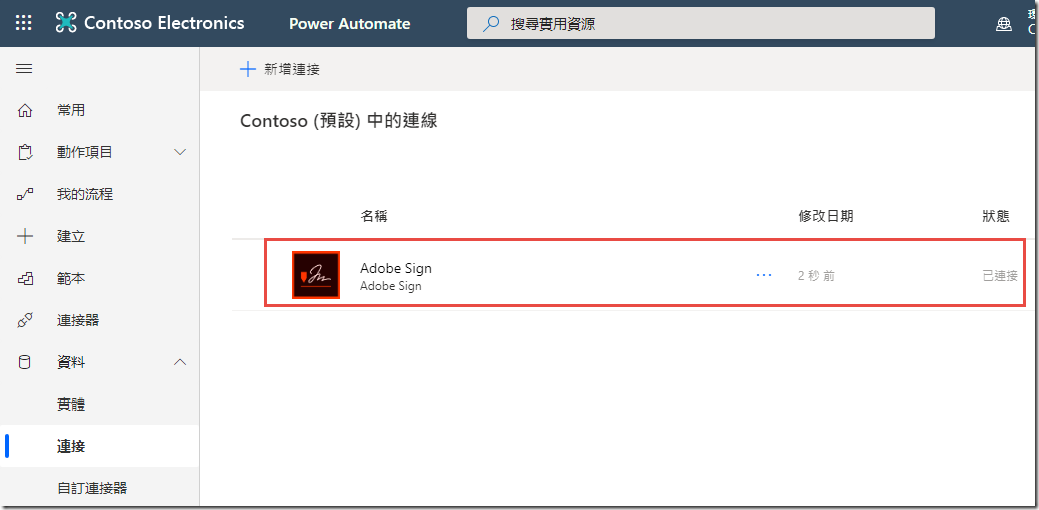
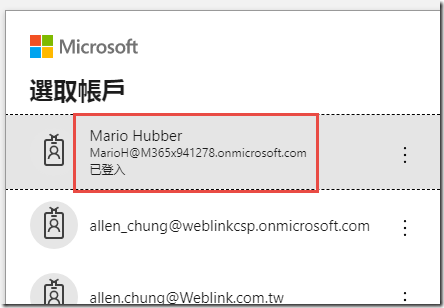
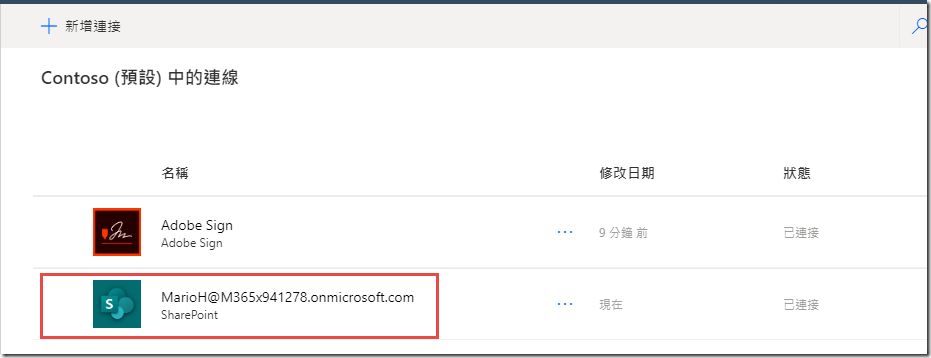
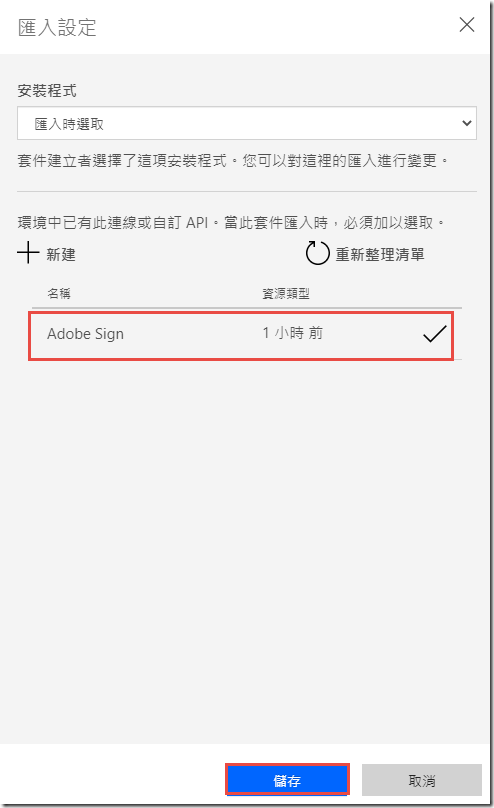
在 Power Automate ( Flow ) 建立 Adobe Sign 連接
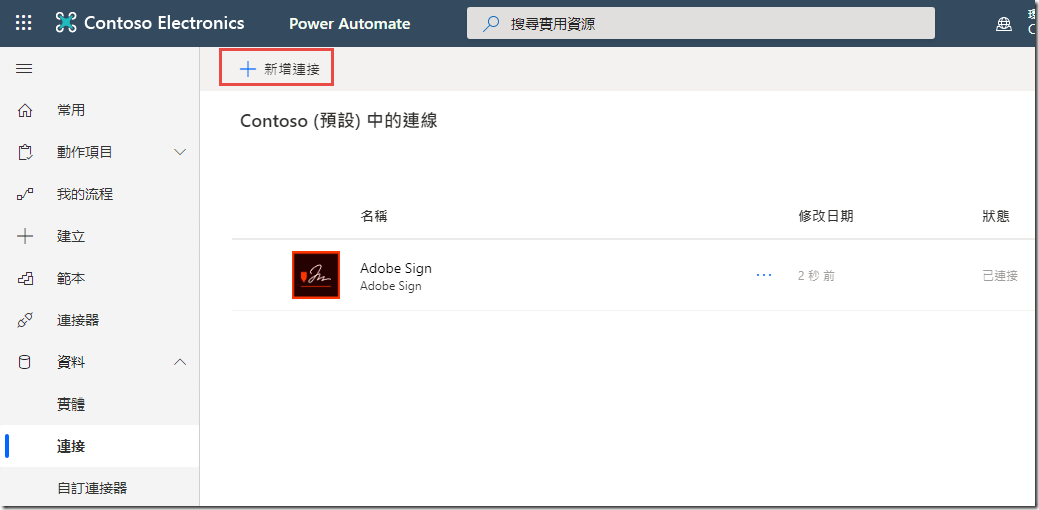
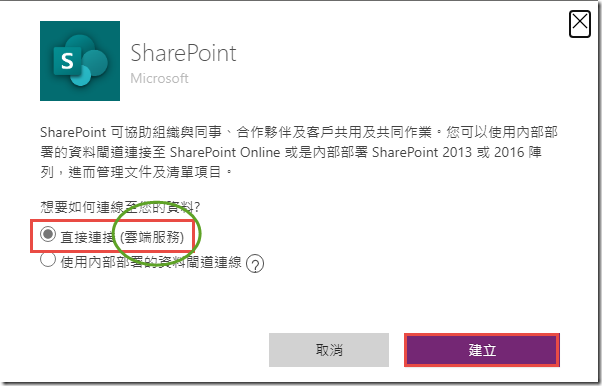
在 Power Automate ( Flow ) 建立 Sharepoint online 連接
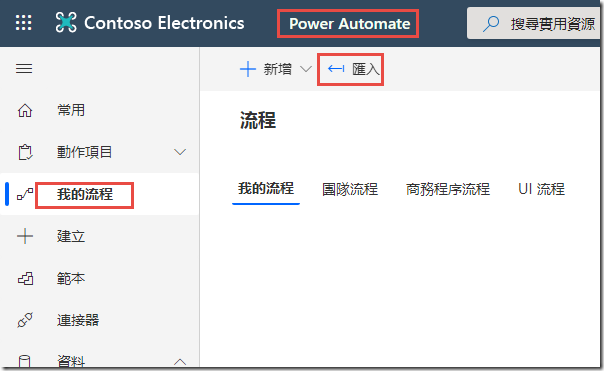
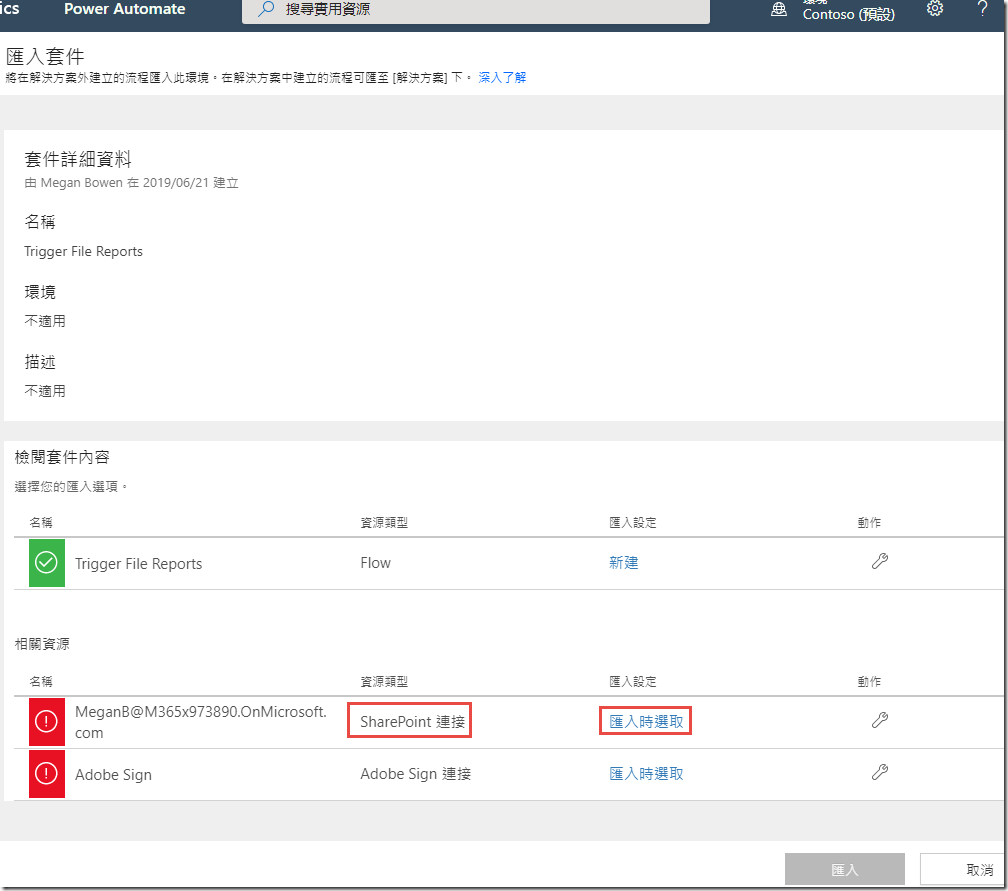
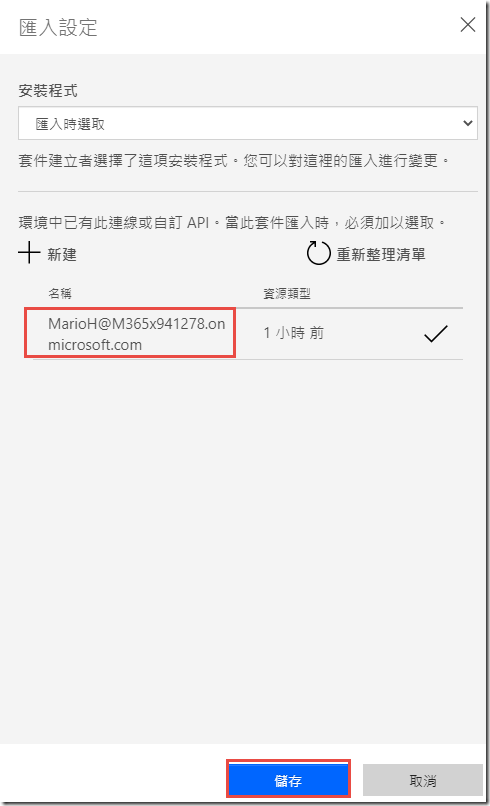
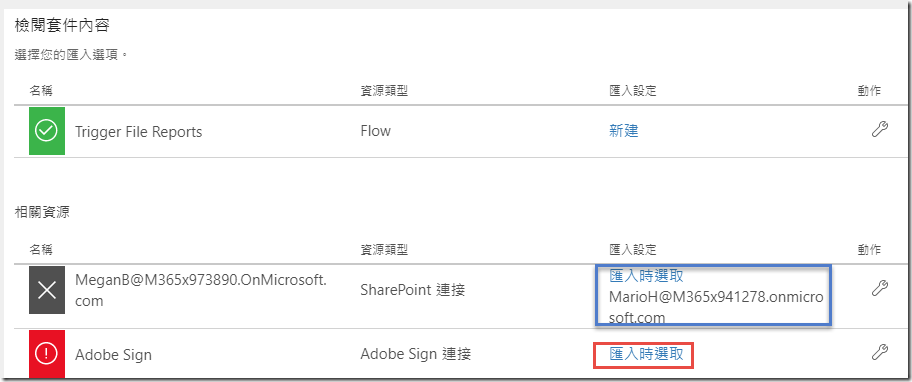
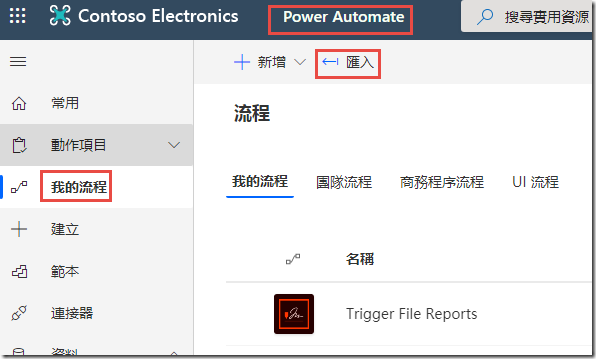
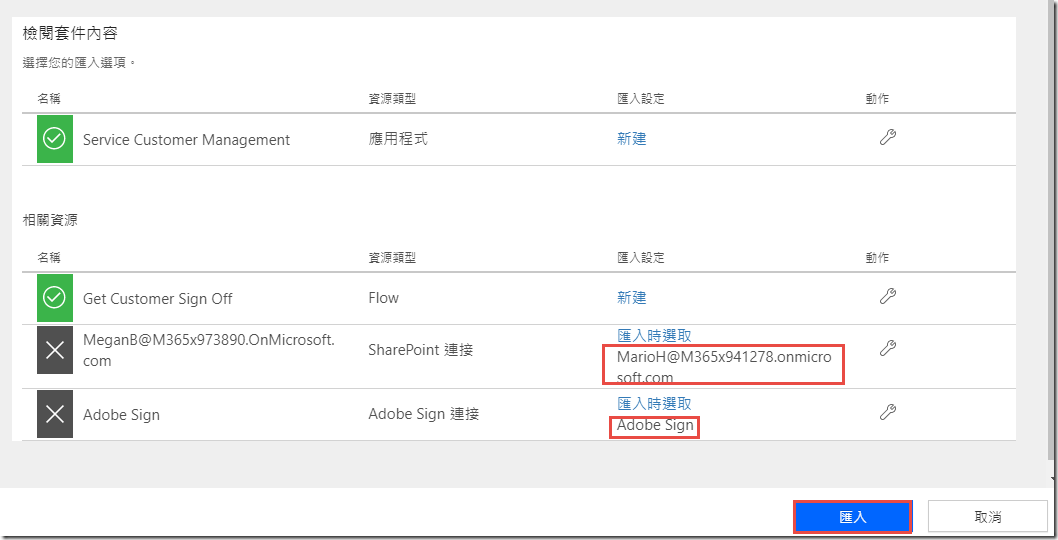
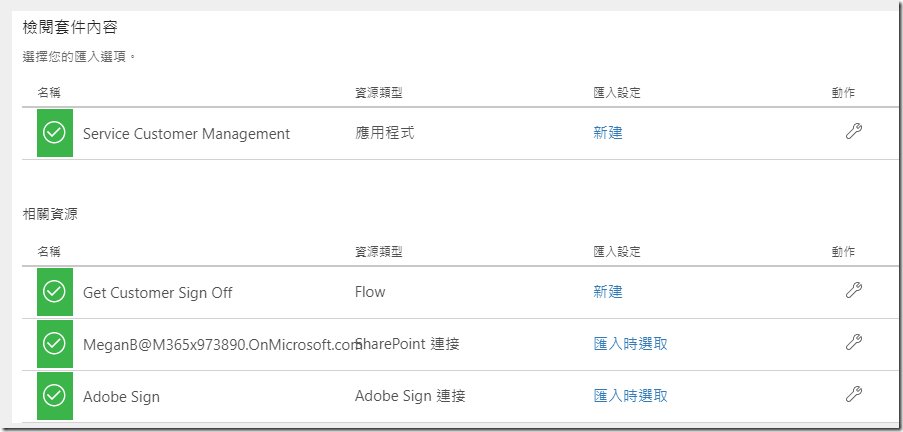
(匯入 Flow – TriggerFileReportsFlow.zip)
(匯入 Flow – CustomerServiceManagementApp.zip)
Flow per User plan license
2020/10/08
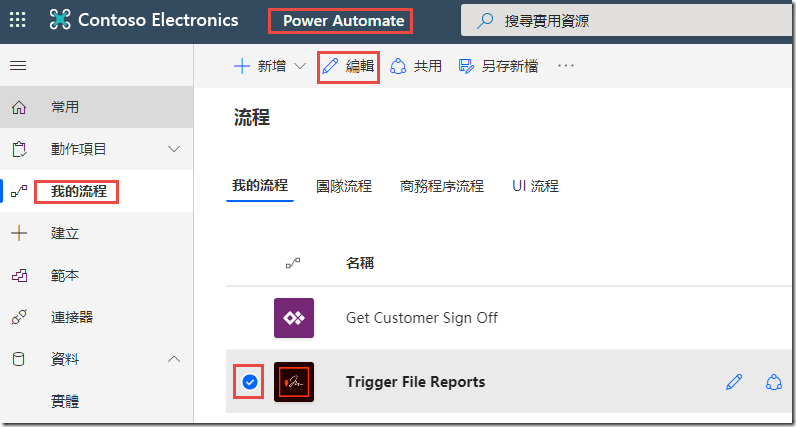
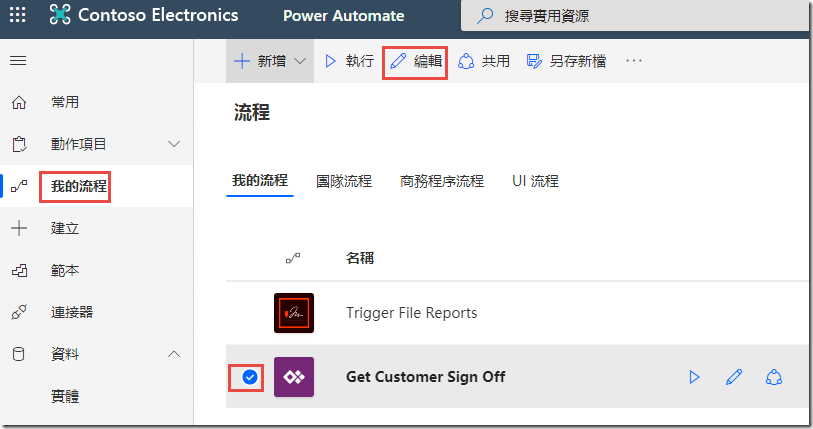
(修改 Flow – TriggerFileReportsFlow )
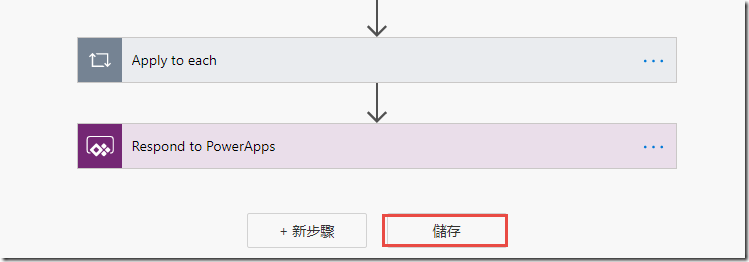
(修改 Flow – CustomerServiceUpdateApp )
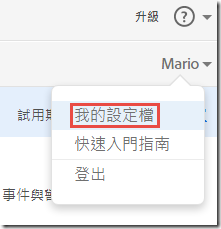
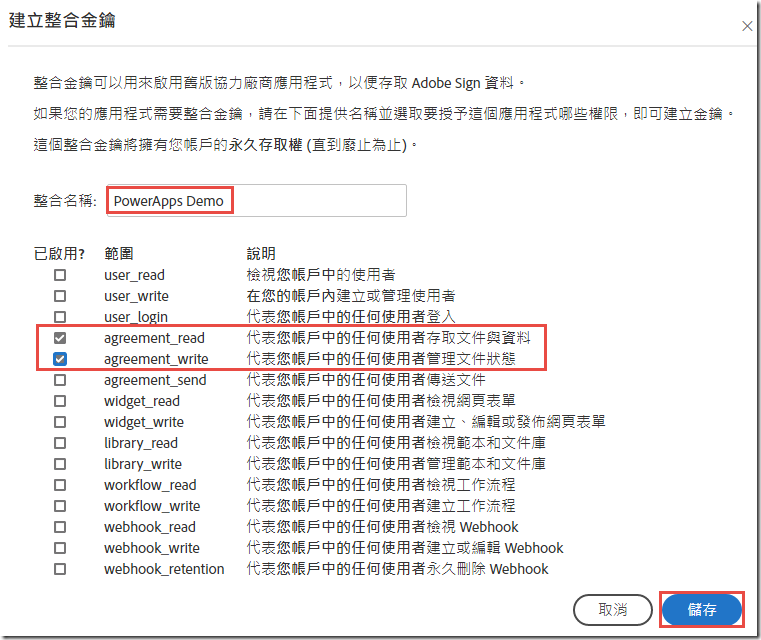
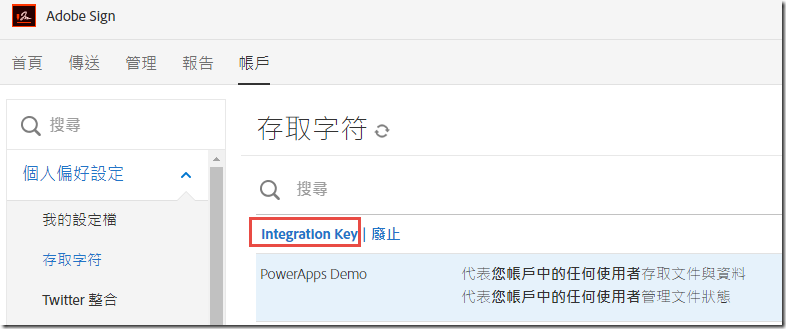
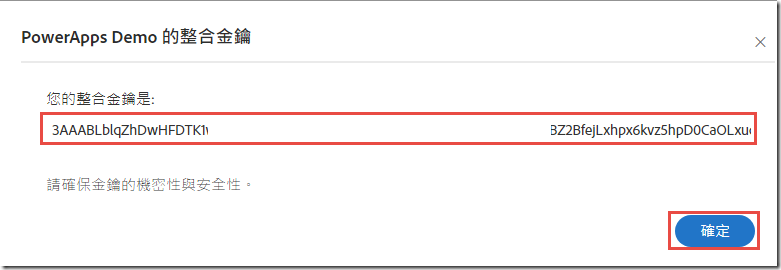
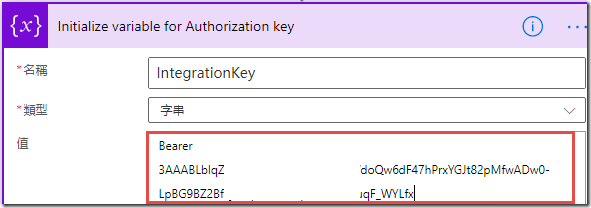
取得 Adobe Sign Access Token
https://secure.echosign.com/public/login
For Value after the word Bearer leave a space and place the cursor then right click and choose Paste
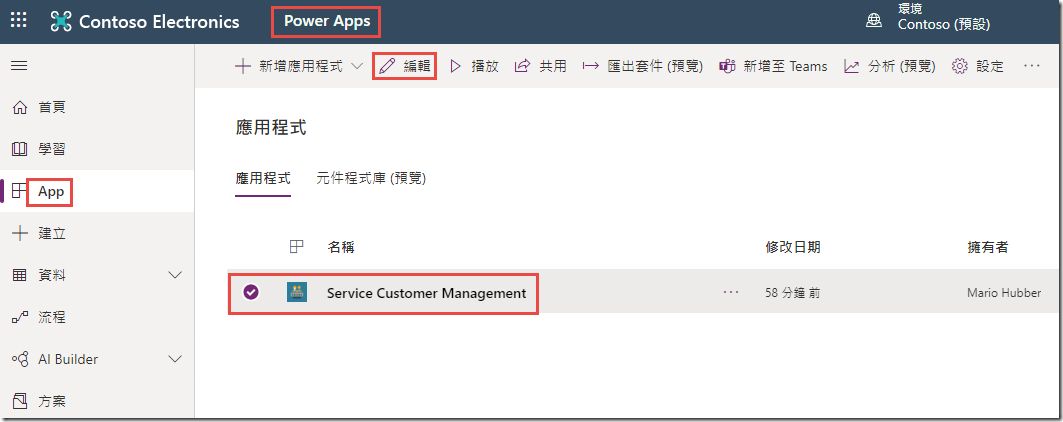
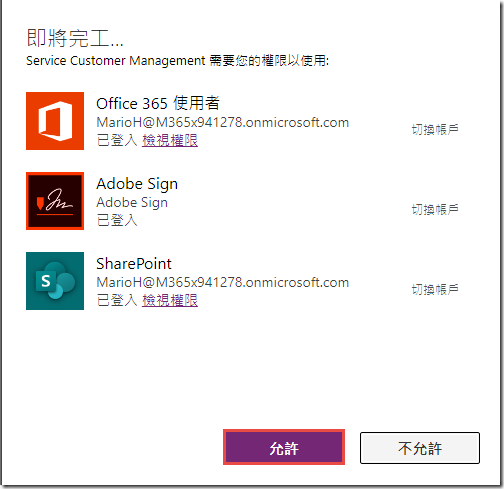
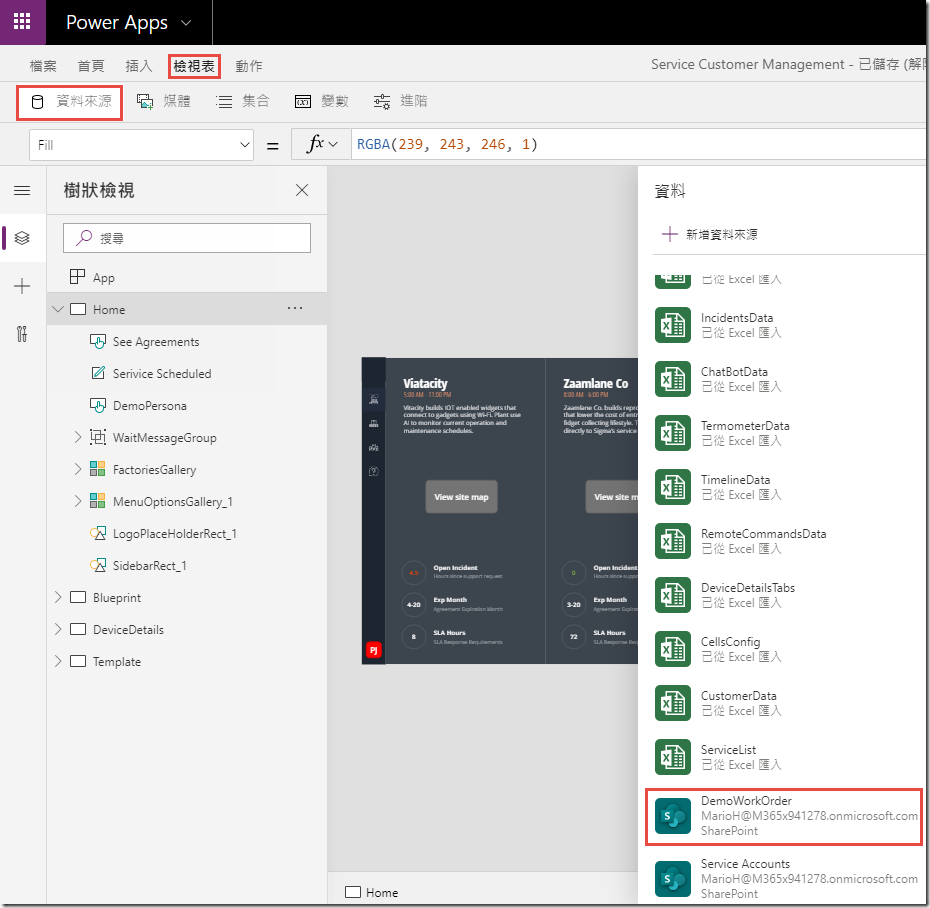
編輯 Power Apps – Service Customer Management
刪除 DemoWorkOrder and Service Accounts
測試 App


















近期留言